My GYM Manager
A Flutter language based GYM Management App!
About This Project
This is a Flutter based Android Application Development project done onbehalf of the Mobile Application Development Module. First of all please bare following things in your mind,
- Only the Android Development is considered no iOS platform developed.
- This App will demonstrate basic functionalities of what I have learned. (First time Flutter Learner)
- This is not a fully completed app.
- Most of the functions are yet be learned and applied. But you will be able to do some basic functionalities in the app. 😄
Now let’s see what is the purpose of the app! This is more like a day to day tracking app where GYM owner can keep record of members, trainers, equipments and financial records. It is not like a complete complex database driven app. This is more like a entry level app which provide basic CRUD activites for the app functions.
A list of commonly used resources that I find helpful are listed in the acknowledgements.
Built With
These are the main languages and services I used for this project.
Getting Started
Following instruction will give you an idea about how you can setup this project locally.
Prerequisites
You need to have following software and languages to start this.
Latest,
- Android Studio
and / or - Visual Studio Code (I prefer to use VS Code along with Android Studio for coding which is much more simple and elegent when coding)
- Flutter SDK
Installation
- Install both Android Studio & VS Code or just Android Studio
- Install Flutter
If you have installed all the things correctly then you can open up one of the editors and start using this project.
Usage
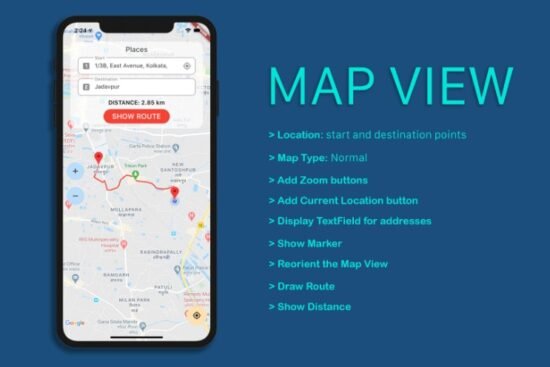
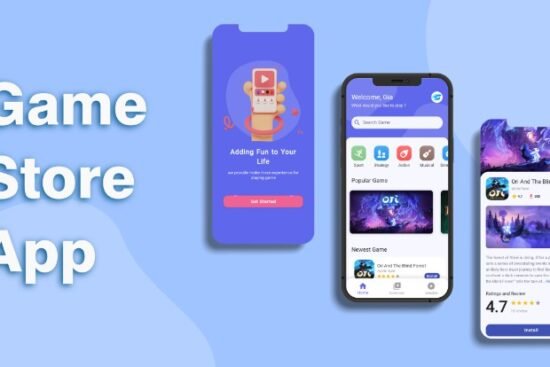
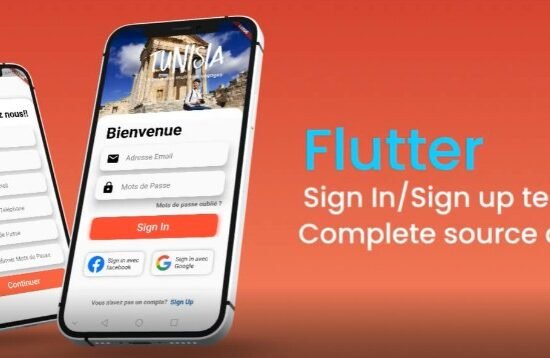
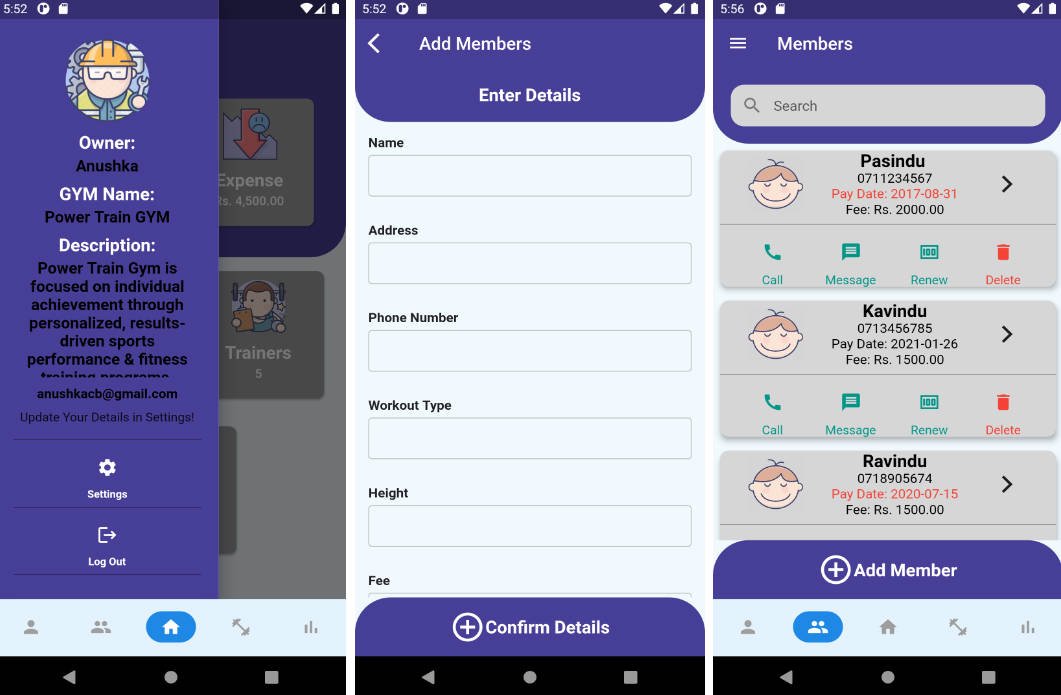
Following screenshots of the app will give you an idea about how this app works. Please use 6 or more characters as the password when using the app


Contributing
Contributions are what make the open source community such an amazing place to be learn, inspire, and create. Any contributions you make are greatly appreciated.
- Fork the Project
- Create your Feature Branch or Use Master Branch
- Commit your Changes
- Push to the Branch
- Open a Pull Request
License
Distributed under the MIT License.


