

Super Responsive
A responsive library for Flutter that
- is easy to use and easy to read
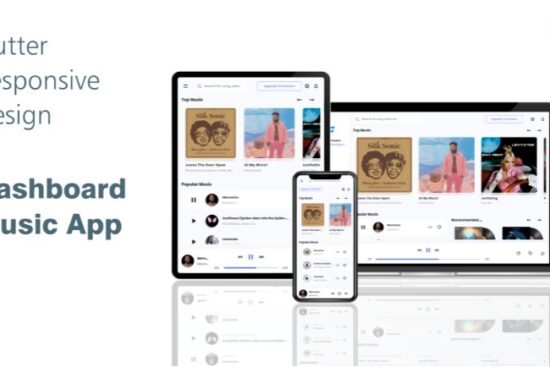
- makes your app look great on all devices
- makes your app more readable
- makes your app more maintainable
Getting Started
Welcome to Super Responsive!!!
Getting started is very easy.
First, wrap your app in a Super Responsive widget.
class MyApp extends StatelessWidget {
  const MyApp({Key? key}) : super(key: key);

  @override
  Widget build(BuildContext context) {
    return SuperResponsive(
      breakPoints: BreakPoints(
        // you can add up to 6 breakpoints
        // first and second are required!
        first: 1200,
        second: 900,
        third: 600,
      ),
      child: MaterialApp(
        title: 'Super Responsive App',
        initialRoute: '/',
      ),
    );
  }
}
Then you will be able to use all our features!!!
Responsive Value
– responsiveValue()
In order to get a responsive design, we should have a responsive value.
This value can be withing any range that we specify, For example:
If we want a container to have a width between 500 and 100, meaning
the container will have a width of 500 when our screen width will be equal or greater to
our first breakpoint, and it will have a width of 100 when our screen width will be equal
or less than our last breakpoint (this one is going to be the last break point
we specified).
– breakpoints.when()
In case you don’t want to calculate this value in that way and want to assign
specific values depending on the current breakpoint, you can use the when
method inside the Breakpoints class.
– customResponsiveValue()
There is also the possibility to use a custom responsive value.
Which will calculate the value based on the new breakpoint range
that you specify and the value range.
Responsive Widget
...
@override
Widget build(BuildContext context) {
  return ResponsiveWidget(
    // The amount of widgets must be equal to the amount
    // of breakpoints we have specified in our SuperResponsive widget
    children: [
      WidgetLarge(),
      WidgetMedium(),
      WidgetSmall(),
    ],
    // ! we can also specify new breakpoints for only this widget
    // ! this will override the breakpoints of the SuperResponsive widget
    // ! and the amount of children must be equal to these new breakpoints
    // breakpoints: BreakPoints(
    //   first: 1000,
    //   second: 800,
    //   third: 500,
    // ),
  );
}
...
ResponsiveText
...
@override
Widget build(BuildContext context) {
  return ResponsiveText(
    text: "Super Responsive",
    fontSizeRange: Range(20, 30),
    // ! we can also specify custom breakpoints for only this widget
    // ! this means that the result of the responsive value set
    // ! for the font size, will be set to the closest value of the
    // ! textBreakpoints. For example, if the value should be
    // ! 17, it will be set to 17 because it is the closest value from the
    // ! set of textBreakpoints
    // textBreakpoints: [
    // 30,
    // 15,
    // 20,
    // ]
  );
}
...
Responsive Gap
...
@override
Widget build(BuildContext context) {
  // ! it'll return a SizedBox square with dimension equal
  // ! to the responsive value of range [100, 300]
  return ResponsiveGap(100, 300);

  // ! you can also create an "INVERSE" gap, which will
  // ! have as a dimension the inverse value. For example,
  // ! if the value is 300 and the range is [100, 300],
  // ! it will have a final value of 100
  return ResponsiveGap(100, 300, reversed: true);
}
...
Responsive Layout
With this widget you will be able to write complex layouts
and make them easier to read, understand and maintain.
The concept is very simple, specify how many layouts you want, the children
that will be available for those layouts , your breakpoints(which most of the time are your SuperResponsive breakpoints)
and then you layouts.
⚠ Warning !!!!
DO NOT USE .expanded() and .flexible() on a widget
that is already wrapped inside an Expanded or Flexible widget.Doing this will cause unexpected behavior and very ugly errors!!!.
Percentage Value
Here we have the function
double responsivePercentageValue({
required double valuePercentage,
required Range? valueRange,
required double limit,
}){}
that will return the specified percentage of a certain limit, and it’ll
be clamped if valueRange is specified
It also comes with two useful extension on the BuildContext class
...
@override
Widget build(BuildContext context) {
  return Container(
    // width will be always 50% of the current screen width
    width: context.percentageValueWidth(50),
    // height will be 50% of the screen height but clamped to the value of the
    // given range
    height: context.percentageValueHeight(50, Range(100, 300)),
    color: Colors.red,
  );
}
..
Percentage Value Builder
Roadmap
(a bit empty for the moment)
- Add examples
- Add tests